Using tile editor
On this page, you will learn an essential tool to make scenarios.
Introduction to Tile Editor
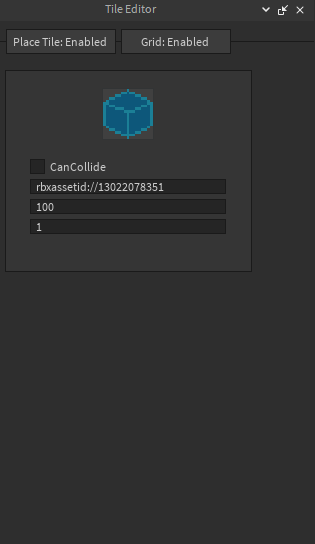
Click on the Tile Editor button, and a new window named "Tile Editor" will appear. In this interface, you can easily build a scenario.
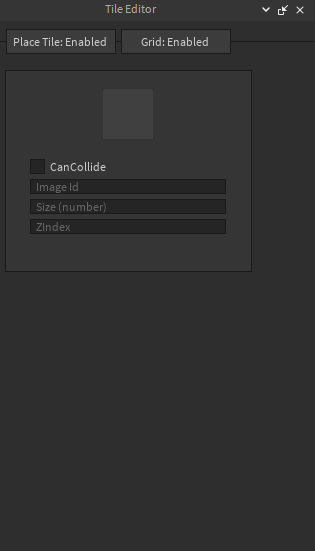
Within the Tile Editor, you'll find some buttons and fields:
- Name: Enter the name of this tile.
- Image Id: Enter the URL of your tile image here.
- Size: Specify the dimensions to determine the size of your tile.
- ZIndex: Assign a numerical value to control whether the tile should appear in front of or behind other tiles.
- CanCollide: Toggle this option to enable or disable collisions for the tile. This feature can be beneficial, particularly when creating terrains.
- Crop enabled: Toggle this option to enable or disable the crop.
- Crop tile: Click here to crop your image, this can be helpful to avoid uploading a lot of images
- Save tile: Click here to save your tile in the right section
Cropping an image
When you click on "Crop tile", a new window will appear, displaying the image we previously specified in the tile editor in a larger view. You can resize this window to ensure the image is displayed more clearly.
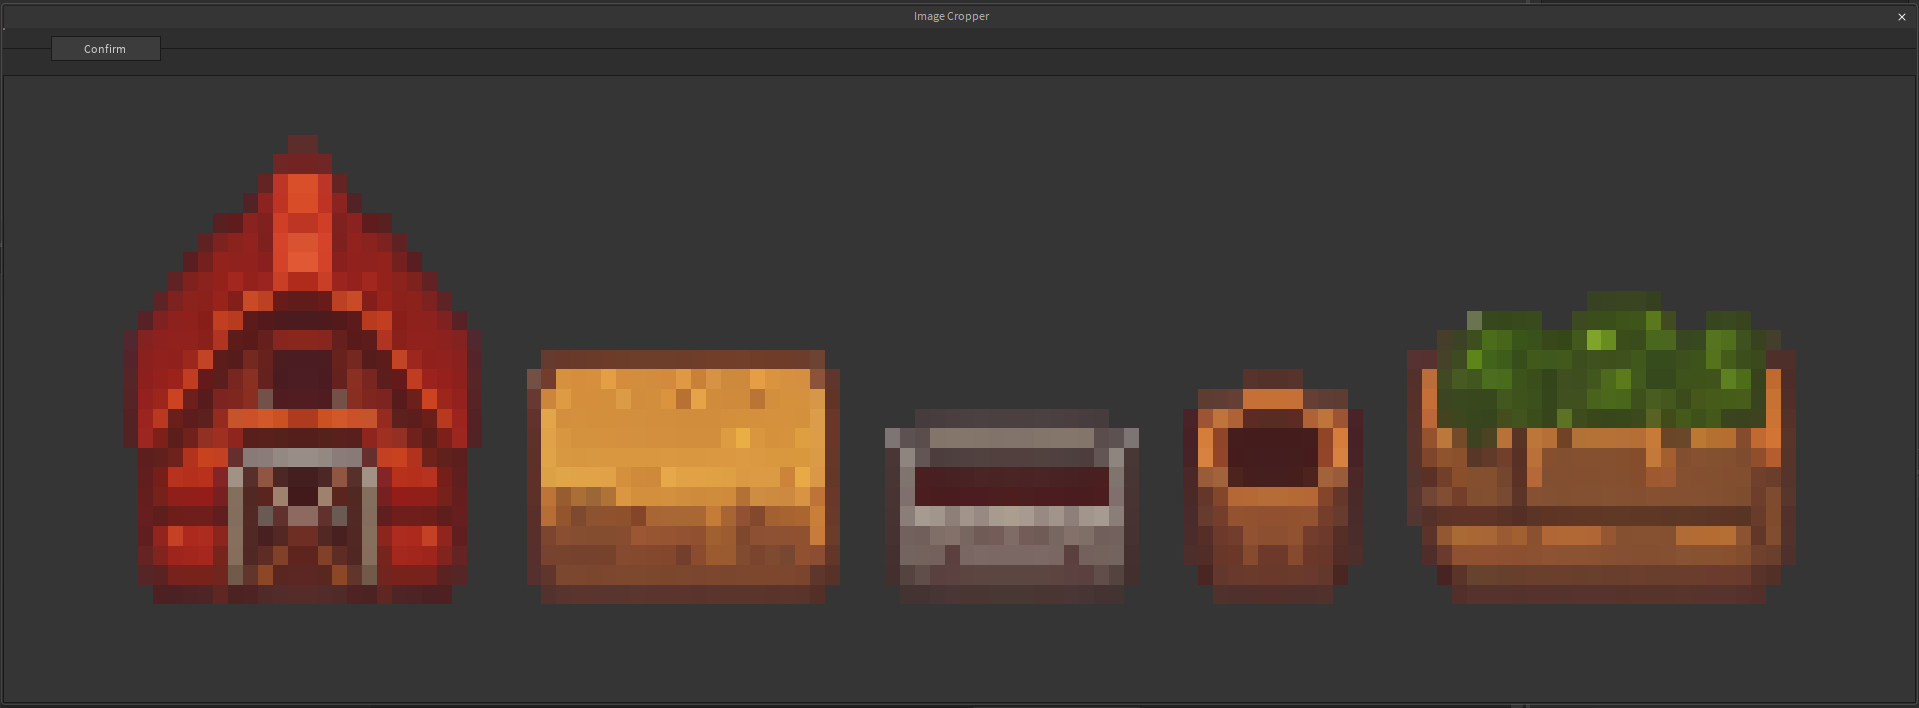
When you click on "Crop tile", a new window will appear, displaying the image we previously specified in the tile editor in a larger view.
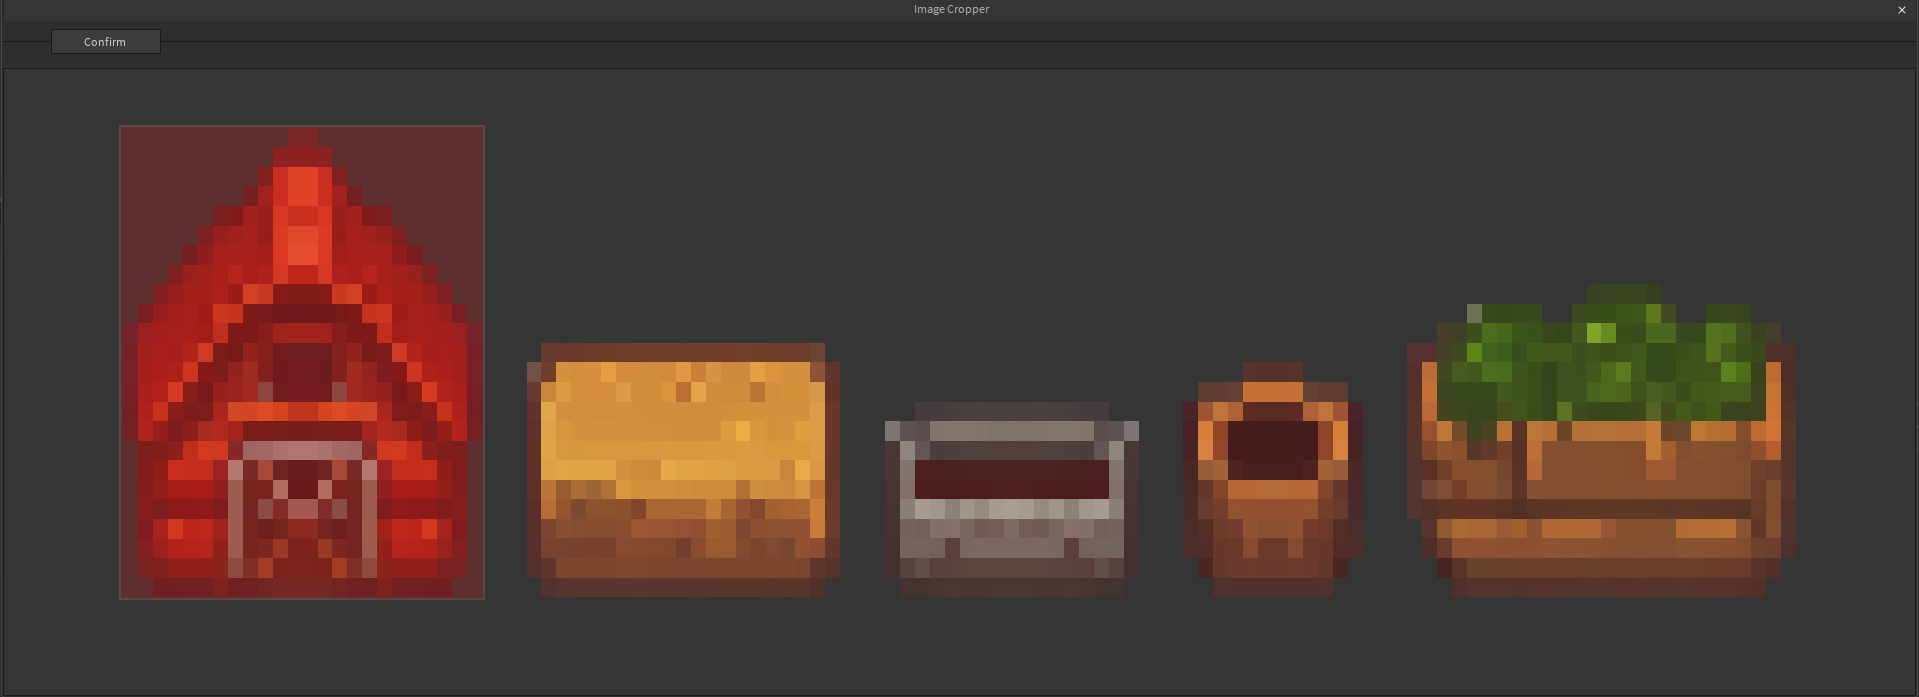
Once the selection is made, click "Confirm" and the crop will be applied to the image.
A basic usage
Let's do a basic configuration, don't forget to enable the "grid" and "place tile" modes, this will create a new environment called "Tile Env".
Now, Let's build something, Let's hold the left click while we move the mouse
You can delete any tile in the same way you place it, just hold Left Ctrl this time