First steps
On this page, you will learn how to manage scenes and create objects for your 2D game projects with the graphic interface of upside engine.
Introduction to scene manager
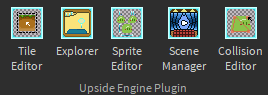
Click on the Scene Manager button, and a new window called "Scene Manager" will appear. Here, you can manage all the scenes of your game. To create a scene, click on "New Scene."

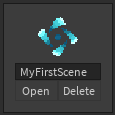
Now that we have created a scene, you can rename it by clicking on the scene name. You can also delete it by clicking on the "Delete" button.
Introduction to explorer
Now, let's open the Explorer window. Click on the Explorer button.
Open the previously created scene by clicking on the "Open" button. This will load the scene in the Explorer window.

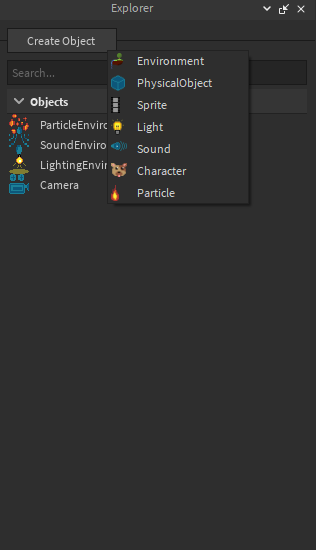
Now, let's create an object. Click on the "Create Object" button. This will display a menu with different types of objects you can create. Choose a "PhysicalObject."
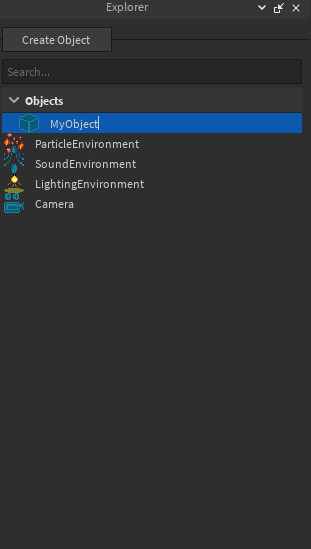
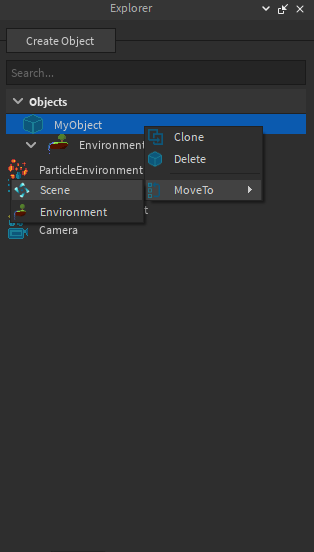
Once you've created the object, you'll see a new element in the Explorer (also on the screen), usually with a strange name like "unnamed-12345789". If you double-click on it, you can rename it.
Right-click on it to see a menu with options: "Delete", "Clone" and "MoveTo". The first two options are intuitive, but the third one is not. The "MoveTo" option is used to move an object between environments or to the main scene. You can think of an environment as something like a folder.
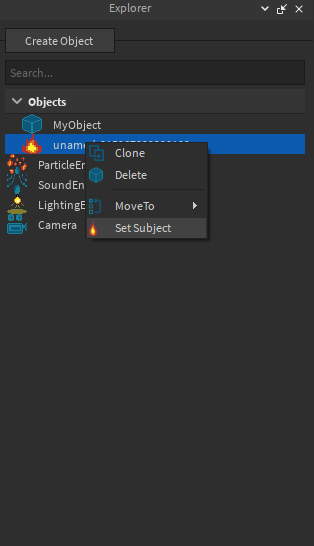
Some specific objects have their own options, like particles, for example. Once you set a subject, you can have "live editing" of the particles.
To edit a property, select the object you want to edit, and then go to the Roblox properties window. Here, you can edit any object property.

Shortcuts
There are some useful shortcuts:
- Left Shift+D to clone an object
- Backspace to destroy an object
Movement
If you press W A S D, you will navigate through the scenario.